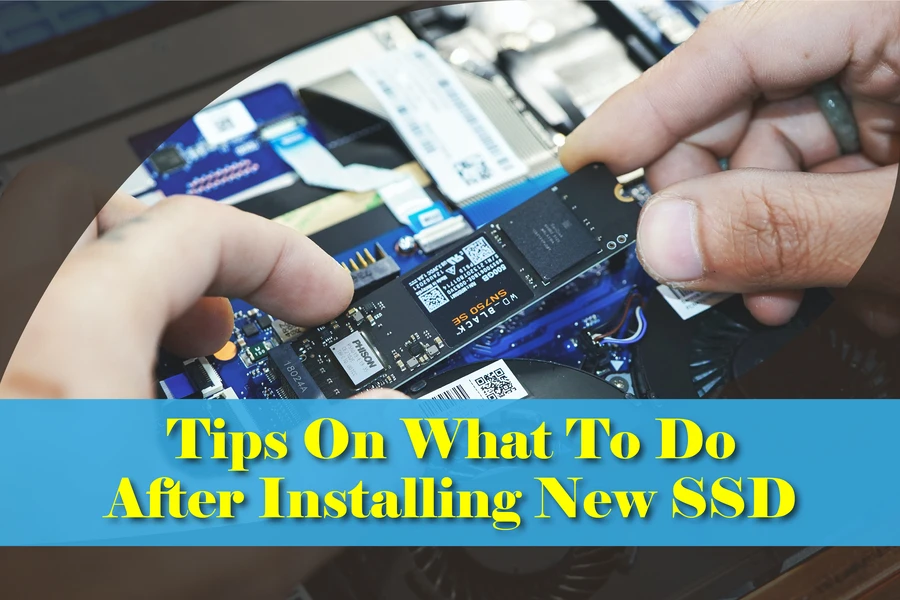
You might have seen people asking what to do after installing a new SSD. It’s normal for first-time users to ask such a question.
There are things you must do to ensure your newly installed SSD functions properly. There are occasions when a newly installed drive won’t work. In this case, you have to try several steps to fix it.
We will discuss what you need to do once you install a new SSD. Let’s dive in!
What To Do After Installing New SSD
What you need to do after installing the new SSD is to initialize and partition it. However, you don’t need to adhere to these steps when running a clean installation of your OS or cloning your solid-state drive.
The reason why you don’t need to follow these steps is this. When you perform a clean OS installation or clone to your solid-state drive, the initialization and partitioning will occur automatically to your new SSD.
If your solid-state drive had previously been initialized, you might have to format or reformat it. We will explain how to perform the processes we just mentioned, in the section below. So keep reading to learn more!
Step 1: In this first step, load windows from your existing drive and attach the solid-state drive as a secondary drive.
Step 2: Right-click on the startup menu and open “Disk Management.” Choose “Manage” followed by “Disk Management.”
A Handy Tip: Note that this step is for Windows 7 and earlier. We will explain the process for the others, such as Windows 8 and higher.
Step 3: This step is similar to the first. The difference is that this step is for Windows 8 or higher. Move your mouse to the left-hand corner of your computer, right-click on the Start icon, then select “Disk Management.”
The essence of steps 2 and 3 is to select Disk Management. Step 2 is for Windows 7 or earlier, while step 3 is for Windows 8 or later.
Step 4: Initialize the SSD. Note that when “Disk Management” displays, you’ll encounter a pop-up strictly prompting you to initialize your solid-state drive.
Step 5: Here, choose GPT (GUIDE partition table). Remember, we said initializing and partitioning are crucial things you must do after installing your new SSD.
So after selecting GPT, the next step is to click “OK.”
We recommend GPT because of how it performs for modern systems, including higher-capacity drives. MBR (Master Boot Record) is also an option, as it performs well for specific legacy software compatibility.
Step 6: Move your mouse to the section “unallocated,” then follow it up by right-clicking and selecting “New Simple Volume.” When it eventually opens, click “Next” to proceed.
Step 7: The Specify Volume Size should serve as the minimum (default value). Leave it this way, and click “Next” to proceed to the next stage.
Step 8: The next step involves choosing a Drive Letter. And after this, click “Next” to proceed to the next stage.
Step 9: You have to format the drive in this next step. Here’s what you need to do on the partition screen. Choose a name for the solid-state drive and proceed to the next phase by clicking “Next.” Now, your SSD has been formatted, and it’s ready for you to start storing files.
A Handy Tip: Once you initialize your new SSD on your computer, restart the system to enable the necessary changes. By doing so, your new drive will start appearing on File Explorer and other places. In other words, you can start storing data.
How To Fix SSD Not Recognized Error Displaying On Windows 10
Imagine buying a new SSD for your laptop computer, but Windows 10 doesn’t want to recognize your new drive. It’s annoying to experience such, but the good thing is solutions exist.
You might experience this problem even if you connect your new SSD to your computer. It’s a common problem with the Windows operating system, but as we said, it’s a problem with solutions.
The failure of your laptop’s Windows operating system to recognize your new solid-state drive equally means it won’t appear in Disk Management, This PC, and File Explore. In this case, you won’t be able to utilize the drive.
How do you address this issue on Windows 10? Follow the steps below.
1: There’s a chance the installed drive hasn’t initialized:
The first thing you need to do when you get a new SSD is to initialize it. Otherwise, it won’t appear in the Disk Management utility or File Explorer.
We have explained the processes involved in drive initialization. You can revisit the procedure above to learn more about initializing a new SSD for Windows 7, 8, or higher.
2: Storage controller drivers could be outdated:
When Windows cannot recognize a new SSD, most people may feel like the drive is faulty. In most cases, your SSD could be innocent.
The problem could be with your storage controller drivers. Chances are they are not up-to-date.
If your storage controller drivers are not up-to-date, Windows won’t recognize your new SSD.
So, check and make the necessary changes. If the drivers aren’t up-to-date, update them immediately and restart the system.
Here is how you can update these drivers.
Step 1: Visit the startup menu and launch the “Device Manager.”
Step 2: Locate the “Storage Controller Drivers” in the device manager. The next step is to expand the group.
Step 3: Place your mouse on the “Storage Controller Drivers” and right-click on it. When you do, you’ll find an option requesting you to “Update Driver.”
Step 4: The next step is to choose the option “Search automatically for updated driver software.”
You have now played your part. Let Windows play its part. With step 4, you have authorized Windows to search for any possible update and make it happen.
A Handy Tip: After the update, please restart your system so that the changes will be complete. Next is to use the Disk Management and File Explorer tool to check if Windows now recognizes your new SSD.
If it doesn’t, then it’s evident that problems still exist. You can try the next step.
3: Check if the BIOS can detect your new drive:
One important thing you need to do after installing a new drive is to check your BIOS. Can the BIOS detect your SSD? If it can’t, chances are your drive wasn’t attached properly.
The BIOS (basic input/output system) is an integral part of the computer. It’s the program designed to booth computers and coordinate vital tasks between devices and the operating system.
How can you open the BIOS menu?
The simple step is to press the correct function key when the system starts booting. And note that this function key varies from brand to brand.
A simple Google search can help you find the Function key to open the BIOS menu. For Dell computers, the F2 keyword is the correction function key.
Here is what to do when you open the BIOS Menus.
When you open the BIOS menu, find the Boot menu and check if the drive is listed there. If the drive is present, proceed by implementing the solutions mentioned there.
If the BIOS can’t recognize your SSD, you’re likely dealing with faulty hardware. Another possible reason could be the reconfiguration of SATA controller settings.
4: SSD settings may require reconfiguring:
If your new drive fails to appear in the BIOS menu, you can fix this problem by reconfiguring your SSD settings.
In this scenario, the SATA controller should be the primary focus. This controller is an interface that connects the drive to the motherboard.
Changing the SATA controller mode can help, particularly when BIOS fails to detect your new drive.
Please note that the BIOS menu isn’t the same across the board. It differs from one manufacturer to another. So check your BIOS menu online or on the manufacturer’s website for clues.
Here is how to go about this process:
Step 1: Restart your system, and hit the appropriate function key for your PC to enter the BIOS menu.
Step 2: The next step is to visit “the storage option> Serial ATA >SATA Configuration. Note that other PC may have a similar setting.
Step 3: Choose IDE compatibility mode.
Step 4: The next and final step is to save all your changes. After this, restart your laptop.
Your new SSD will now start appearing on the BIO menu.
Conclusion
Are you still asking what to do after installing a new SSD? This post contains the answer to your question.
You need to initialize and partition your solid-state drive first. However, if it doesn’t show up in tools like File Explorer and Disk Management, then something is wrong.
Don’t rule out the possibility of the drive being faulty. A faulty drive won’t appear in the BIOS menu, and you can’t detect it via the Disk management tool either.
We have explained everything you must do when installing a new SSD. So read and implement.






Leave a Reply